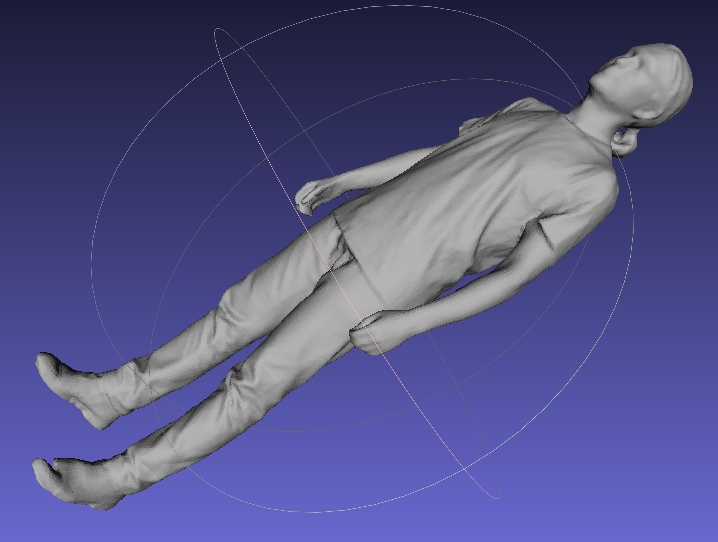
Proof of Concept: From 3D Scanner to Animated Model
So it happened that yesterday I did a 3D scan of myself. And today, to avoid doing all the things I really needed to do, I decided to go through the pipeline from a 3D scan to an animated model.
It all started in a device similar to this one: 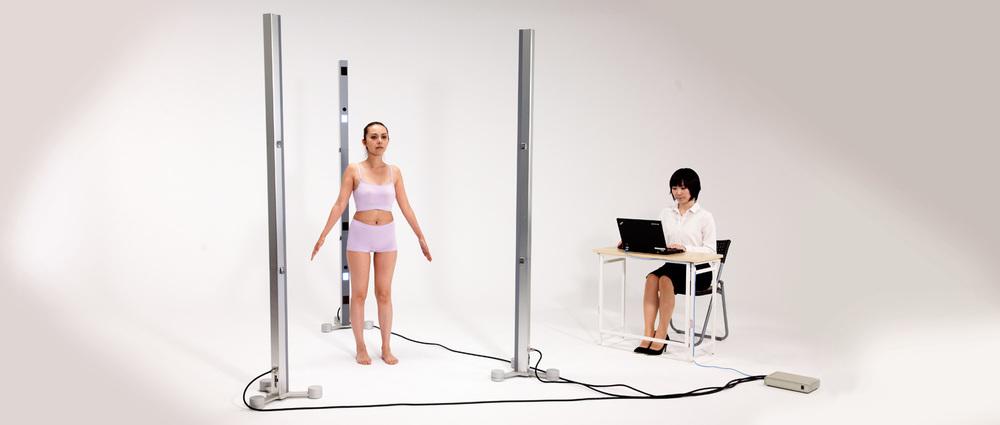 The scanner packed me into a point cloud with ~400,000 points, which looks like this:
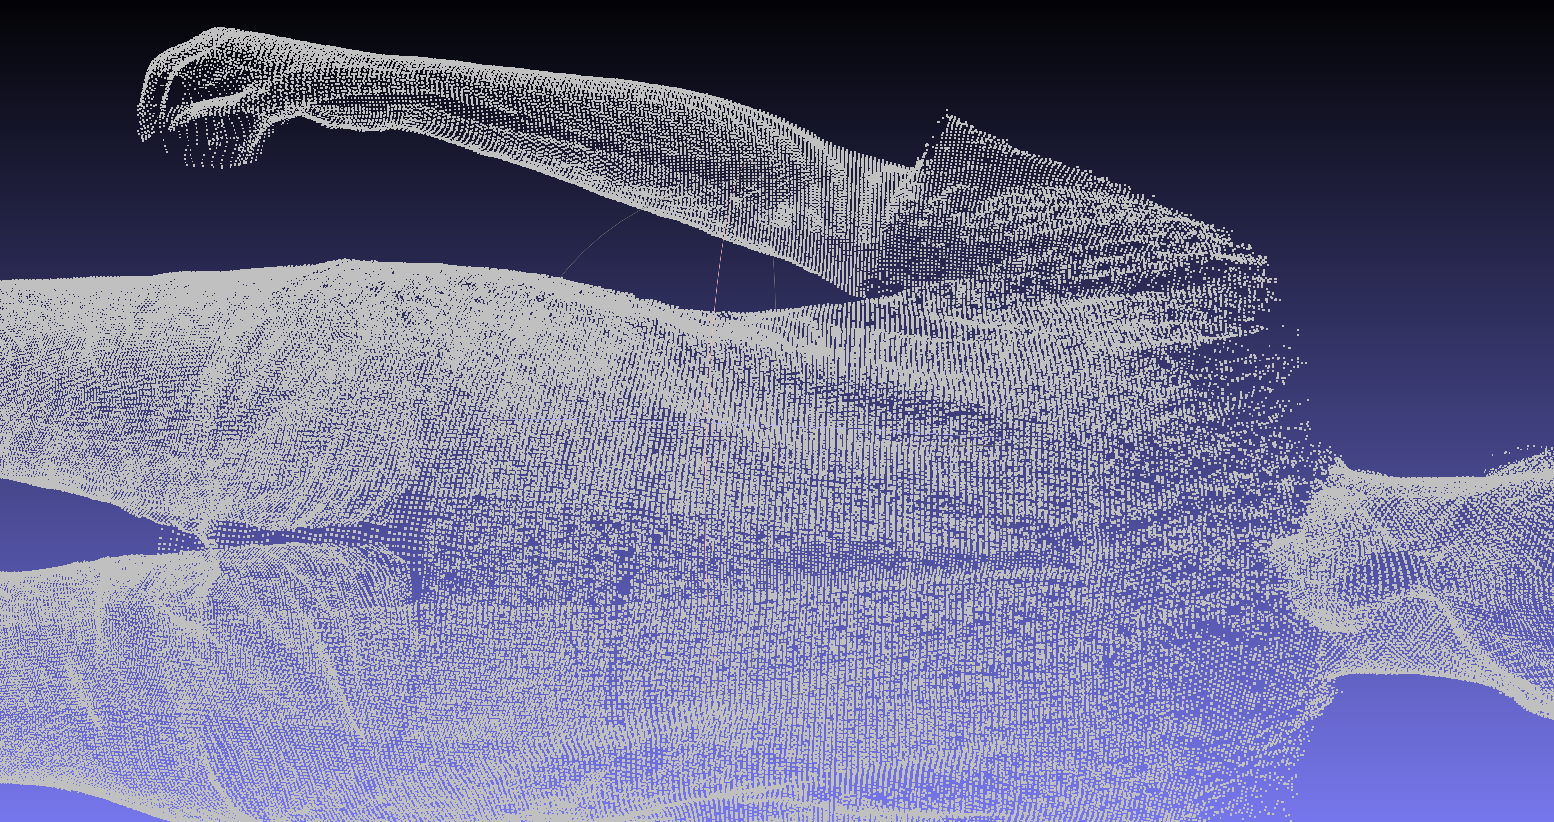
First we need to convert point cloud into a mesh: a graphical model, which consists of triangles. Triangles are better than points because once you have them you can compute lighting effects and give volume to your model. This operation is called surface reconstruction and can be easily done for example using MeshLab software:
- First step was Filters > Point set > Compute normals with the following parameters
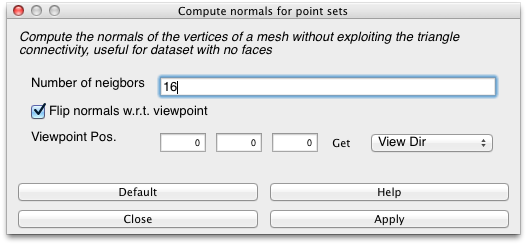 which resulted in (almost) all normals looking at the point (0, 0, 0) as we requested.
 - But we want our normals to look out, not in. So we invert them Filters > Normals, Curvatures and Orientation > Per Vertex Normal Function
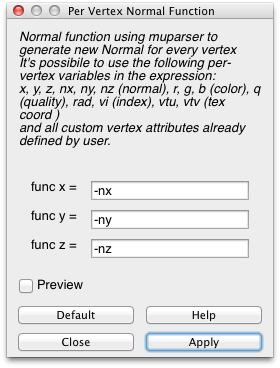
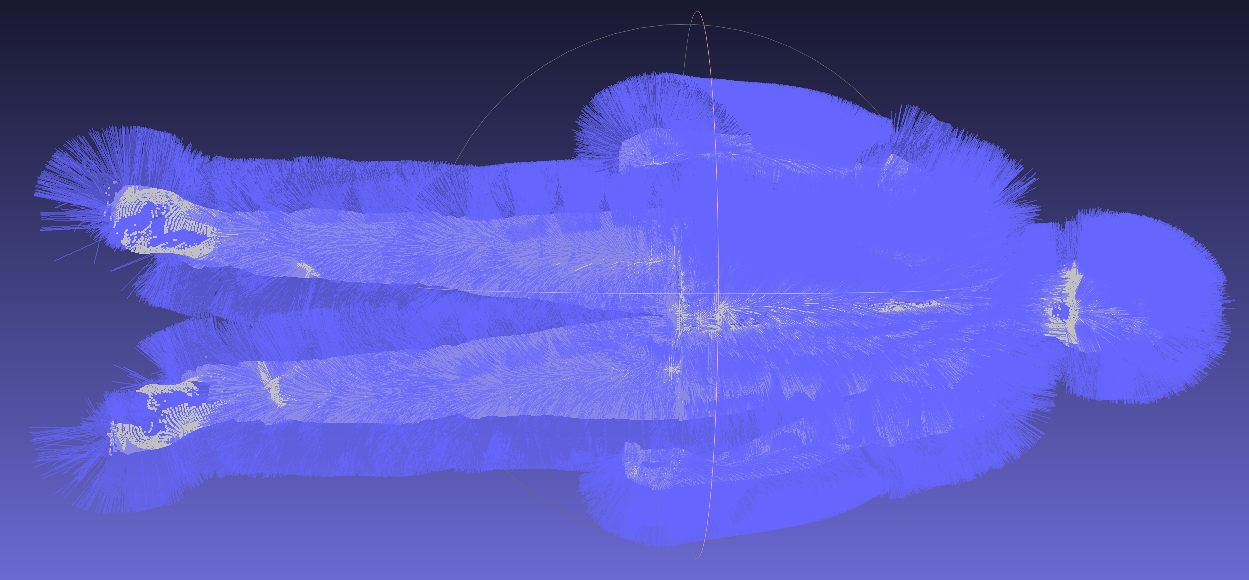
- Render > Show Vertex Normals allows you to see the normals, here they are:
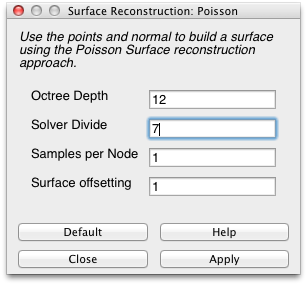
- Now we are finally ready to perform the surface reconstruction. I used Filters > Point Set > Surface Reconstruction: Poisson which seems to be the most poplar way to do it (it will take couple of minutes).
- After that it is makes sense to simplify your model, you will not notice the difference visually and Blender will be much happier to work with smaller mesh. I used Filters > Remeshing, Simplification and Reconstruction > Quadric Edge Collapse Decimation:
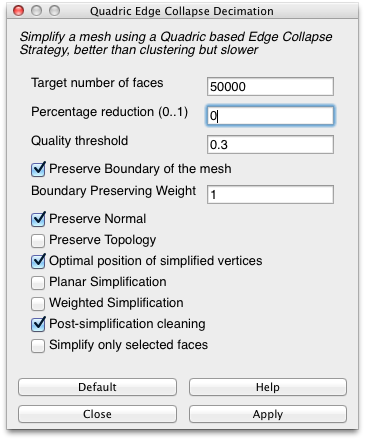
The last checkbox proved to be very useful: when you simplify you most probably would not like to simplify the face very much. So here is what you can do: on the MeshLab toolbox panel select the tool called Select faces in a rectangular regions and select all, but the face. And then use Quadric Edge Collapse Decimation with Simplify only selected faces checked. - The result I got looked like this:

- File > Export Mesh As… *.ply format (or anything else Blender supports)
Next we use Blender to overlay a human skeleton-like armature over our mesh. And there is a really detailed tutorial on how to do that. Once you finish that, you will obtain an obscurity like this:
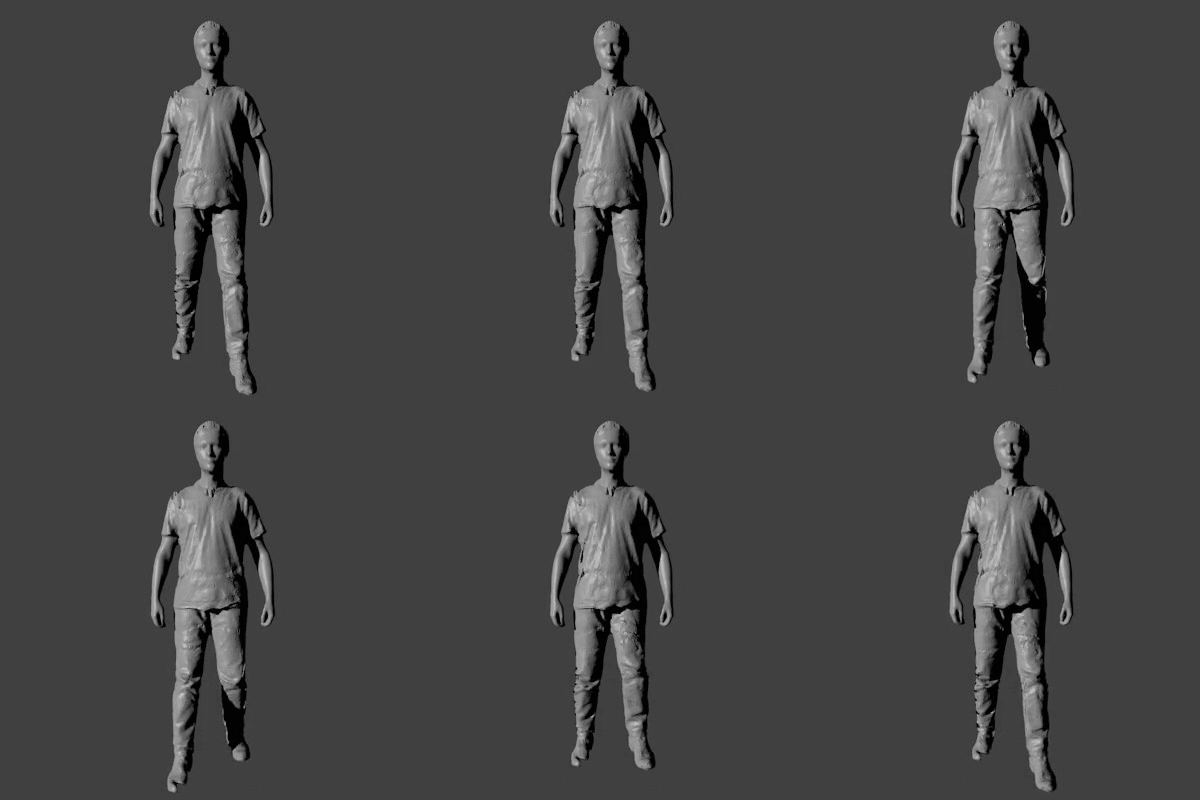
Making this look decent just requires you to carefully work on
- assigning weights to the bones (those weights determine how mesh will move when a bone moves)
- creating realistic movements
That’s it. Thanks for reading!
Where did you have the chance to make a 3D model of yourself?
During one of the Computer Graphics Seminars we visited the Institute of Technology and they have one there.